
Learn how to use Gloo Walls in Free Fire for cover, safer movement, close-range fights, and squad support with practical beginner-friendly tips.
Free Fire Gloo Wall Guide for Beginners
In Free Fire, surviving a fight is not always about having the best aim or the fastest reflexes. Knowing when to take cover, when to reposition, and how to protect yourself from enemy fire can make a big difference. This is where the Gloo Wall becomes an important tool.
For beginners, using a Gloo Wall effectively can be challenging. Placing it too late, using it without a plan, or forgetting about nearby enemies can leave you vulnerable even when you have defensive cover.
In this Free Fire Gloo Wall guide for beginners, you will learn when to use Gloo Walls, how to place them more thoughtfully, how to combine them with movement, and how to practise defensive techniques.
What Is a Gloo Wall in Free Fire?
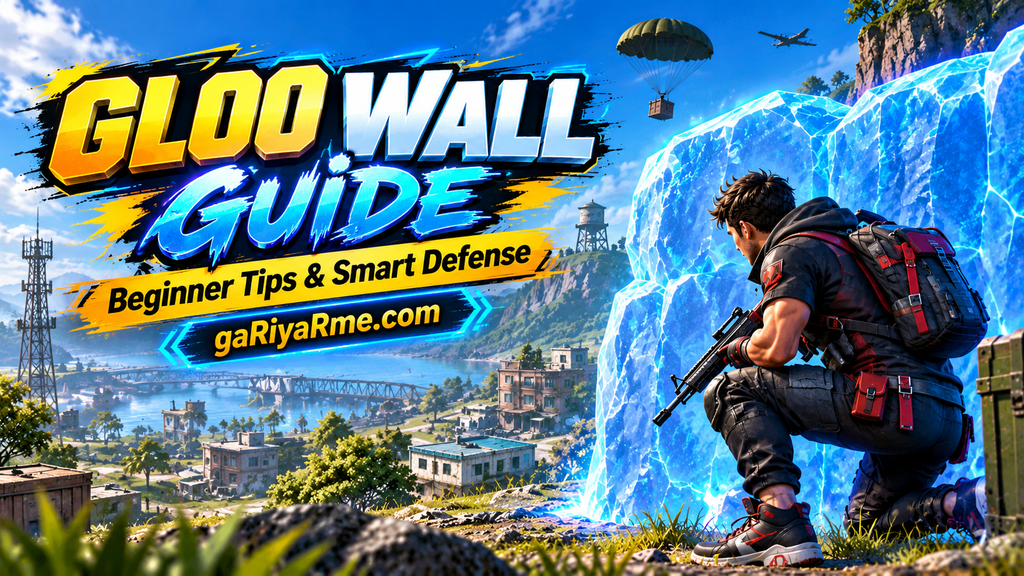
A Gloo Wall is a deployable defensive barrier in Free Fire. Players can use it to create temporary cover during combat, interrupt an enemy’s line of sight, and create opportunities to move or reposition.
Unlike relying entirely on natural cover, such as trees, rocks, and buildings, a Gloo Wall lets you create cover in suitable situations where the game allows it.
However, a Gloo Wall does not make you invincible. Enemies may attack from another angle, move around the barrier, or wait for you to expose yourself. Your positioning and timing are just as important as placing the wall itself.
Why Is the Gloo Wall Important?
Learning to use Gloo Walls can help you in several situations:
- Defensive cover: Create a barrier when you are exposed to enemy fire.
- Safer repositioning: Use cover to plan a move toward a better position.
- Close-range fights: Create a temporary obstacle when a nearby opponent pressures you.
- Squad support: Help teammates who need cover in an exposed position.
- End-zone survival: Make better use of limited cover when the safe zone becomes smaller.
The goal is not to place a Gloo Wall every time you see an enemy. The goal is to use it when it helps you make a better decision.
1. Learn When to Place a Gloo Wall
Timing is one of the most important parts of Gloo Wall usage.
If you wait until you have almost no health, you may not have enough time or space to react. On the other hand, placing a wall unnecessarily can waste a useful defensive resource.
Consider using a Gloo Wall when:
- You are caught in an exposed area.
- An enemy has a clear line of sight to your position.
- You need a moment to reassess a dangerous fight.
- You need cover while changing position.
- A teammate needs help in a vulnerable location.
Before deploying the wall, quickly consider where the threat is coming from and what you plan to do next.
Beginner tip: Do not place a Gloo Wall automatically whenever you take damage. Learn to recognise the situation first, then react as quickly as you can.
2. Place the Gloo Wall Between You and the Threat
A Gloo Wall is most useful when it actually blocks the angle from which you are being threatened.
If you place it in the wrong direction, an opponent may still have a clear shot at you. Before deploying it, consider the enemy’s position and whether the barrier will interrupt their line of sight.
Try to:
- Identify the direction of the incoming attack.
- Place the wall where it provides useful cover, when placement is possible.
- Move behind the barrier instead of remaining exposed beside it.
- Check whether another enemy could attack from a different angle.
Remember that one wall may not protect you from every direction. Stay aware of your surroundings and avoid assuming that a single barrier makes the entire area safe.
3. Use Gloo Walls to Reposition Safely
A Gloo Wall can help you create an opportunity to move, but the wall itself is not the destination.
For example, imagine that you are fighting in an open area and need to reach a nearby building or natural cover. A well-placed Gloo Wall may block an enemy’s view long enough for you to plan your next move.
A sensible approach is to:
- Identify a useful destination before moving.
- Use the wall to interrupt the enemy’s line of sight.
- Move toward available cover when the situation allows.
- Avoid running in a predictable direction without checking for threats.
- Reassess the situation as soon as you reach the next position.
Do not remain behind the same wall for too long if the enemy can easily move around it. Defensive cover is most effective when it supports a clear plan.
For more survival techniques, read our Free Fire Survival Guide for Beginners.
4. Use Gloo Walls Carefully in Close-Range Fights
Close-range fights can become chaotic because enemies may move quickly and change direction. A Gloo Wall can help you interrupt an opponent’s line of sight, but poor timing or positioning can leave you vulnerable.
When using Gloo Walls in close combat:
- Keep track of the opponent’s last known position.
- Avoid assuming the enemy will remain on the other side of the wall.
- Watch for attempts to move around your cover.
- Choose your next move before exposing yourself.
- Keep your aim and movement under control.
Do not focus entirely on placing walls. You still need to track the enemy, manage your weapon, and decide whether continuing the fight is worthwhile.
Practising aim and movement alongside defensive techniques can help you become more confident. You can also read our guide on How to Improve Aim in Free Fire.
5. Combine Gloo Walls with Natural Cover
Gloo Walls and natural cover serve related but different purposes. A tree, rock, or building may provide a useful position, while a Gloo Wall can help create an additional barrier when you need one.
Whenever possible, think about how both can work together.
For example:
- Use a building as your main position and a Gloo Wall to help cover an exposed approach.
- Consider rocks or terrain when choosing a route through an open area.
- Avoid leaving secure cover without a reason.
- Think about where an enemy might approach from before committing to a position.
The best defensive choice depends on the terrain, enemy positions, available resources, and the current situation. Do not use a Gloo Wall simply because you have one available.
6. Help Your Squad with Gloo Walls
In squad matches, defensive decisions can affect more than one player. A Gloo Wall may help a teammate who is exposed or give your team a chance to reorganise.
Use squad communication to make your intentions clear.
Good habits include:
- Informing teammates when you are creating cover.
- Checking whether a teammate needs help before committing to a risky fight.
- Avoiding blocking your squad’s planned movement unnecessarily.
- Coordinating a reposition rather than having every player move in a different direction.
- Staying aware of enemies who may flank the team.
A Gloo Wall is not a substitute for teamwork. If your squad is spread out or unaware of nearby threats, a barrier alone may not solve the problem.
7. Be Careful When the Safe Zone Shrinks
As the match progresses, the safe zone becomes smaller and available space may become limited. In these situations, the position of your Gloo Wall matters because enemies can approach from several directions.
Before using a wall near the end of a match:
- Check your current position relative to the safe zone.
- Look for natural cover and possible escape routes.
- Consider whether enemies have high ground or another angle on you.
- Avoid becoming trapped in a position with no useful way out.
- Keep track of your remaining defensive resources.
Do not wait until the last moment to think about your next position. Planning ahead can help you avoid unnecessary exposure.
For more help with reading your surroundings, see our Free Fire Map Awareness Guide for Beginners.
8. Manage Your Gloo Walls Instead of Wasting Them
Your defensive resources may be limited, depending on the match and the current game rules. Using every available Gloo Wall at the first sign of danger can leave you with fewer options later.
Before deploying one, ask yourself:
- Is the threat serious enough to justify using a wall?
- Will this placement actually block the enemy’s view?
- Do I have another route to cover?
- Will I need defensive resources for a more dangerous situation?
- Am I using the wall to support a plan or simply reacting in panic?
You will not always have time to consider every question during combat. Practising these decisions in less stressful situations can help you react more naturally.
9. Practise Gloo Wall Placement in the Training Ground
The Training Ground is a useful place to practise the basic mechanics and controls available in your version of Free Fire without the pressure of a live match.
Focus on one skill at a time rather than trying to master everything in a single session.
Practice Drill 1: Quick Placement
Practise accessing and deploying your Gloo Wall efficiently. Pay attention to your control layout and how reliably you can place the barrier.
Practice Drill 2: Direction and Positioning
Practise identifying a direction of threat and placing a wall that gives you useful cover. Check whether your character is protected by the barrier.
Practice Drill 3: Cover and Movement
Practise moving from one position to another while using a wall as temporary cover. Focus on choosing your destination before moving.
Practice Drill 4: Aim After Repositioning
After moving behind cover, practise regaining control of your aim and checking the opponent’s position before engaging again.
Practice Drill 5: Review Your Mistakes
If a placement feels slow or ineffective, consider why. Was the wall facing the wrong direction? Did you expose yourself while moving? Were your controls difficult to reach?
Improve one problem at a time.
You can also read our Free Fire Training Ground Guide for Beginners for more practice ideas.
10. Optimise Your Controls for Easier Gloo Wall Usage
Your control layout can affect how quickly and comfortably you deploy a Gloo Wall. A layout that works for another player may not feel natural for you.
When adjusting your controls:
- Make sure important buttons are comfortable to reach.
- Avoid placing frequently used controls so close together that you trigger the wrong action.
- Test your layout before relying on it in competitive matches.
- Make small adjustments instead of changing everything at once.
- Practise until accessing your defensive tools feels consistent.
Sensitivity settings and HUD layout are personal preferences. Copying a professional player’s setup does not guarantee the same results because screen size, hand position, and individual comfort vary.
For more help, check our Free Fire Sensitivity Settings for Beginners and Free Fire HUD Layout for Beginners.
Common Gloo Wall Mistakes Beginners Should Avoid
Even a useful defensive tool can become ineffective when used without a plan.
Mistake 1: Placing the Wall Too Late
Waiting until you are in a critical situation can leave little time to react. Learn to recognise danger early.
Mistake 2: Ignoring Other Enemy Angles
A wall may block one opponent while leaving you exposed to another. Keep checking your surroundings.
Mistake 3: Staying Behind the Wall Without a Plan
Cover can buy you time, but it does not automatically improve your position. Decide whether to reposition, defend, or disengage.
Mistake 4: Moving Out Too Predictably
An opponent may anticipate your movement if you always leave cover in the same way. Check the situation and avoid rushing blindly.
Mistake 5: Wasting Defensive Resources
Using walls when they provide little benefit can reduce your options in a more dangerous fight.
Mistake 6: Ignoring Natural Cover
A Gloo Wall is not always the best choice. Buildings, rocks, terrain, and other available cover may provide a better route or position.
Mistake 7: Changing Controls Too Frequently
Constantly changing your HUD can make it harder to build consistent muscle memory. Give each reasonable adjustment time to practise.
Final Tips for Using Gloo Walls Better in Free Fire
To improve your Gloo Wall skills, remember these principles:
- Prioritise useful placement over unnecessary placement.
- Block the relevant enemy angle whenever possible.
- Have a destination in mind before repositioning.
- Watch for enemies moving around your cover.
- Combine Gloo Walls with natural cover and good map awareness.
- Coordinate with teammates during squad matches.
- Practise placement, movement, and aim regularly.
- Adjust your controls to suit your own comfort.
You do not need complicated techniques to start improving. Build reliable fundamentals first, then develop faster reactions through practice.
The key lesson is simple: use a Gloo Wall to create an opportunity, not as a guarantee of safety. Good positioning, awareness, timing, and decision-making are what make that opportunity count.
Game mechanics, controls, and available features can change with updates, so practise using the current version of Free Fire.
Frequently Asked Questions
1. What is a Gloo Wall in Free Fire?
A Gloo Wall is a deployable defensive barrier that can help block an enemy’s line of sight and provide temporary cover during a match.
2. When should beginners use a Gloo Wall?
Beginners can use a Gloo Wall when they are exposed to enemy fire, need temporary cover to reposition, or want to support a teammate in a vulnerable position. The best timing depends on the situation.
3. Can a Gloo Wall protect you from every enemy?
No. It may block one angle of attack, but opponents can sometimes approach from another direction or move around the barrier. Always remain aware of your surroundings.
4. How can I improve my Gloo Wall placement?
Practise deploying the wall efficiently, identifying the direction of the threat, and moving behind cover. Repeating these basic actions in the Training Ground can help you become more consistent.
5. Should I use Gloo Walls in every fight?
No. Use them when they provide a meaningful defensive or tactical advantage. Natural cover or a safer route may sometimes be the better option.
6. How do Gloo Walls help in squad matches?
They can provide temporary cover for exposed teammates and create opportunities for coordinated movement. Communication and awareness remain important because one wall cannot protect the entire squad from every direction.
7. Do Free Fire sensitivity settings affect Gloo Wall usage?
Sensitivity settings mainly influence aiming and camera movement, while control layout affects how comfortably you access actions. A suitable HUD layout and regular practice can help you use your controls more consistently.
8. What is the best way to practise Gloo Wall skills?
Start with quick placement, directional positioning, and movement between cover. Then practise regaining your aim after repositioning. Focus on correcting one mistake at a time.
Leave a Reply